Side Kick - High Torso Drill
Side Kick - High Torso Drill
Welcome to "Side Kick Drills" series. During the next couple of months, I'm going to share with you various Side Kick Drills that I've discovered, practiced, and perfected over the last four decades of my own martial arts training. I'm sharing these drills in response to inquiries I've received after posting the side kick analysis where I analyzed different types of side kick positions. You can take a look at these analysis by clicking here.
The drills I'm about to share with you will cover many bases. Some drills are for speed, some for power, some for height, some for form, some for control, some for the flexibility of the kicking leg, supporting leg, the core and so on.
I will explain each drill to you in detail. You will get a clear explanation of what each drill is used for, how it is used, how it can benefit you, what part of the body it works and so on.
You will get lots of benefits from each drill, so if you haven't already done so, I suggest that you subscribe to my newsletter, so you can be notified right away when the next drill is posted. Once you sign up you will also get a FREE E-book on how to improve your Side Kick height!
Side Kick - High Torso Drill
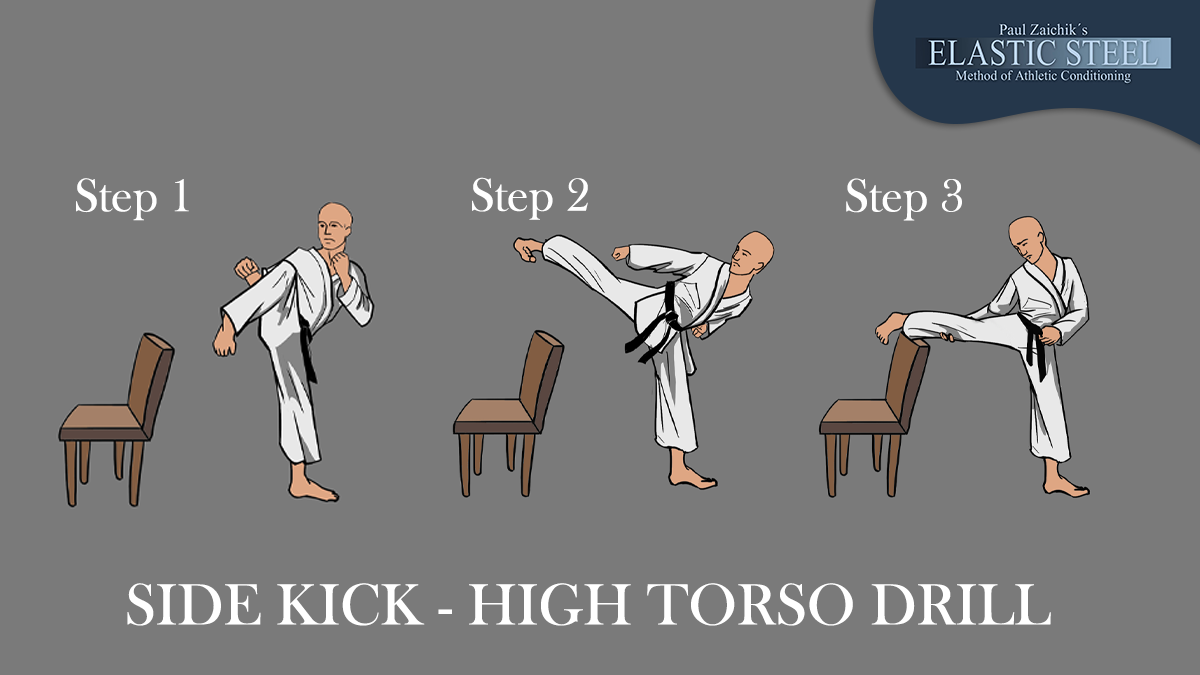
The focus of this drill, goes beyond the actual kick, which by the way should be performed in slow motion for control. As you will see in the pictures demonstrating each movement, the part of the kick where there is no contact with the chair, there is, regular slow kick practice. This is very important in kicking. There's also a special component to flexibility of the core. Flexibility of the core is also very important.
A lot of people, when they throw their kicks, drop the body so low that the head might as well touch the floor. This type of kicking is incorrect. Not only does it look bad, if you're doing it for demonstration purposes. But, more importantly it is not very effective. The reason is that by so doing, your opponent sees your body drop away and instantly knows that you're about to throw a kick. To top it off it takes you much longer to recover into a fighting stance, giving your opponent the upper hand.
A lot of people, when they throw their kicks, drop the body so low that the head might as well touch the floor. This type of kicking is incorrect. Not only does it look bad, if you're doing it for demonstration purposes. But, more importantly it is not very effective. The reason is that by so doing, your opponent sees your body drop away and instantly knows that you're about to throw a kick. To top it off it takes you much longer to recover into a fighting stance, giving your opponent the upper hand.
Here's a step by step of the Side Kick - High Torso Drill
So, lets talk about how actually do this drill.
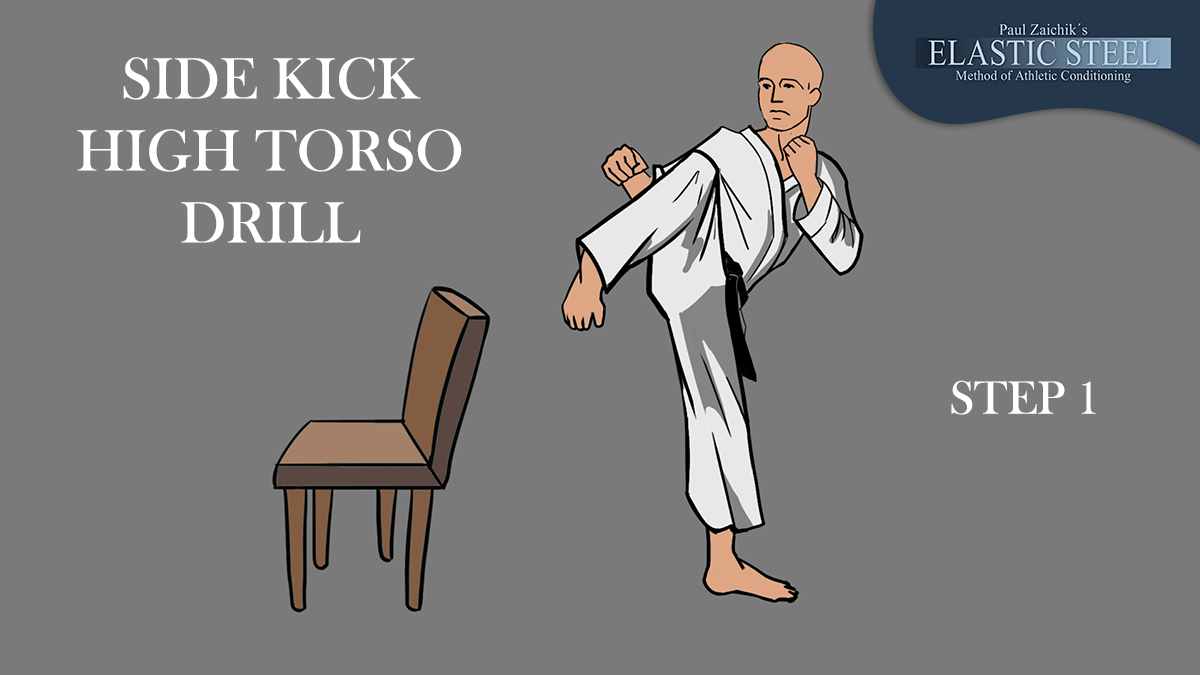
Step 1
- To begin, take a good sturdy chair.
- Stand kicking distance away from the back of the chair.
- Lift the chamber slowly.
- Hold the chamber. (I usually hold it for 5 to 10 seconds. )
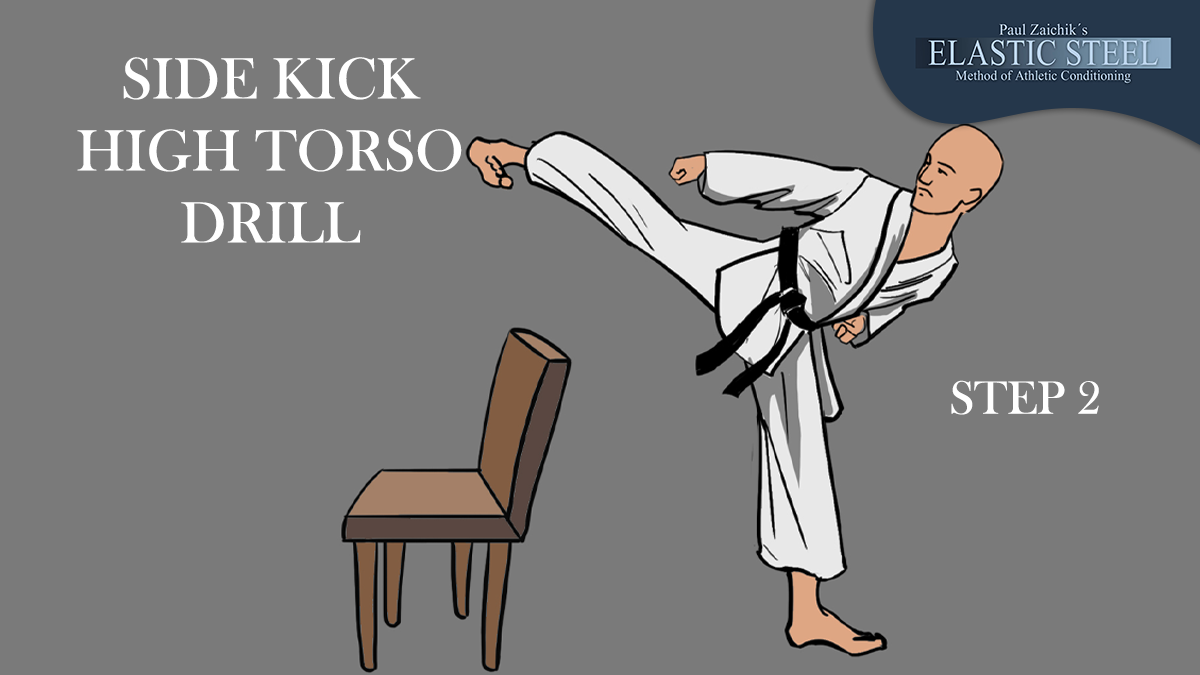
Step 2
- Slowly extend the kick.
- Once the kick is extended, you can place your foot on the back of a chair.
- Or for added benefit you can hold the kick for 5 to 10 seconds.
It doesn't matter if you hold the kick for the drill itself. The focus of the drill is on the lateral flexors of your core. So, the reciprocal inhibition will kick in whether you hold the kick or not, because you slowly have extended it.
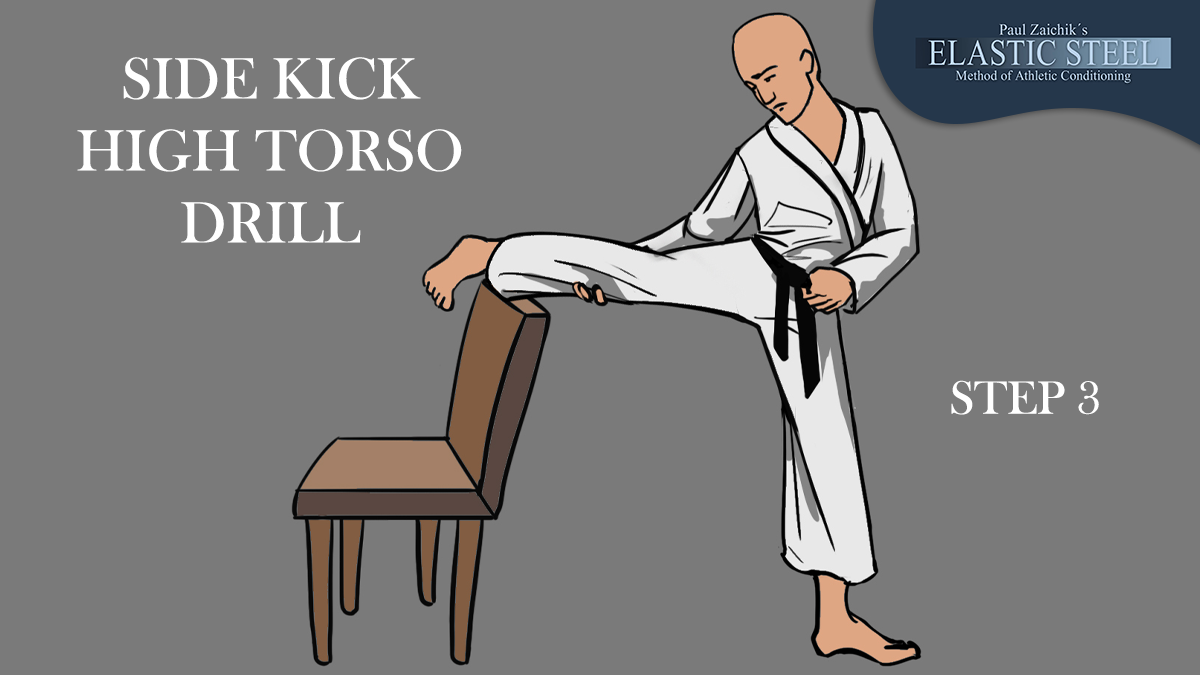
Step 3
- Place your foot on the back of a chair in a side kick position.
- Reach with your hand for your leg. You might be able to only place your hand on your hamstring, maybe on the back of your knee, or if you're very flexible, on your calf.
- And from there, use both your arms and the side flexors of your core to flex the body to the side.
Here, it is important to engage the muscle of your body and not just your arms because what we’re looking for here is reciprocal inhibition. For example, let's say you’re kicking with your right leg, the muscles on your right side will inhibit the muscles on the left side of your core allowing your body to be flexed to the side.
Master your Kicks with a PROVEN system that WORKS!
Do You Want FAST Mastery of Your KICKS?Kicks that you can Master in 5-6 Months?
Or Do you Prefer the Standard Method? Kick and kick and kick some more and hope that it will work somehow, eventually. If you are open to a new method, Read On!
Here is the Eye Opening Truth: If you want SPEED, You MUST train a sequence that develops SPEED! If you want KICKING HEIGHT, You MUST train a progression that develops KICKING HEIGHT, etc.
Here is the Eye Opening Truth: If you want SPEED, You MUST train a sequence that develops SPEED! If you want KICKING HEIGHT, You MUST train a progression that develops KICKING HEIGHT, etc.
The worst thing you can do is.... “just keep kicking". I know people who have been “just kicking” for 2 years, and I also know those with 30 years of "just kicking" experience under their belt. NEITHER have developed any top-level qualities in their kicks. (By quality I mean; speed, power, height, focus, control, etc)
However, after I showed them how to train for a specific quality of a kick, it took them just weeks. YOU READ THAT RIGHT, just weeks to improve their kicks like they could not do in years.
So what I'm offering you in these training programs is Extremely Fast Progress- One Quality At a Time. IF You Understand That Each Quality Must be Developed One At a Time, and Only Then Can it Be Mastered Quickly Then Please Read On....
So what I'm offering you in these training programs is Extremely Fast Progress- One Quality At a Time. IF You Understand That Each Quality Must be Developed One At a Time, and Only Then Can it Be Mastered Quickly Then Please Read On....
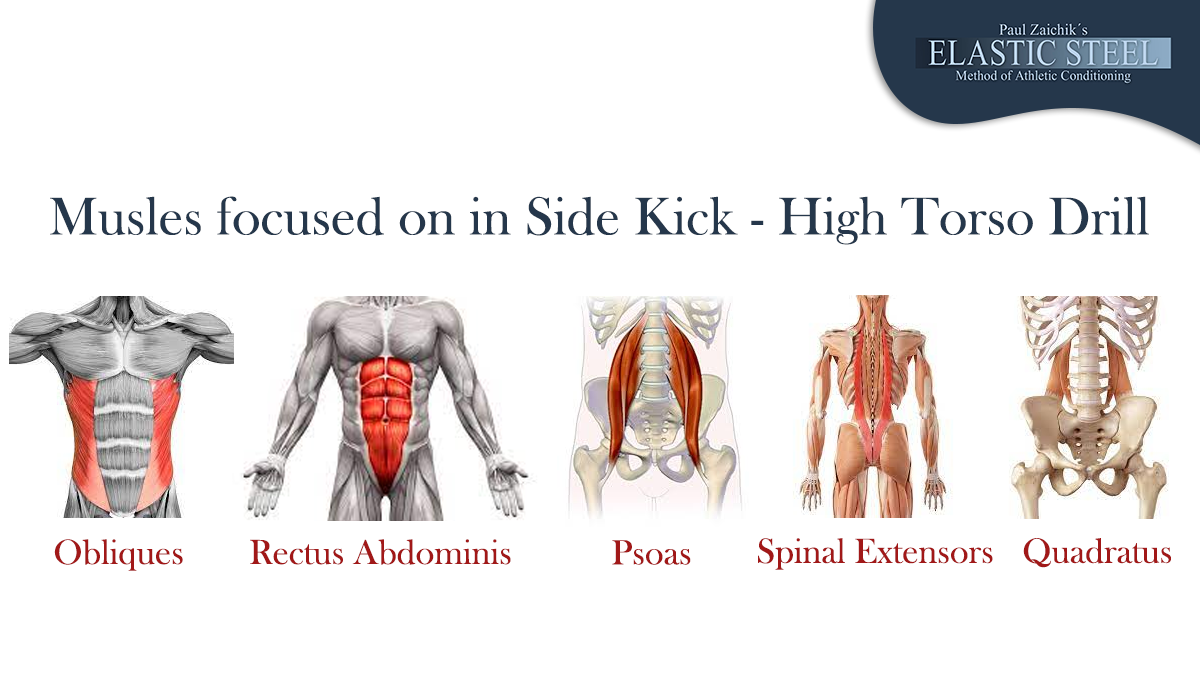
The muscles that are going to be stretched to allow for lateral flexion in this Side Kick - High Torso Drill are:
- The Obliques on the left side of your body, providing that you’re kicking with your right leg.
- Rectus Abdominals on the left side of your body.
- The Psoas on the left side of your body.
- Spinal Extensors on the left side of your body.
- And Quadratus on the left side of your body.
You may not know this, but Rectus Abdominus, although it looks like one muscle, can work unilaterally, and allow you to flex side to side. If the whole muscle works together, it allows your body to flex forward.
To get maximum value out of this drill it is important to do it correctly!
To get maximum value out of this drill it is important to do it correctly rather than to see how high you can come up. If you twist and turn your body every which way, or bring your hips back, or foot forward all in an effort to come up higher, it won’t mean that you got maximum benefit from this drill. Therefore, again, it is more important to do this drill accurately rather than try to cheat your own self.
Over the next few months, I will share many different drills with you. Keep in mind thought, that they won’t be structured. For optimum results flexibility needs to come before control, and control before speed, speed before power and so on.
It is not like the ElasticSteel Kick Mastery System where every drill is structured. I'm just giving you separate drills, but each drill, just like the Side Kick – High Torso Drill, will help you and with each drill I will explain to you exactly what it will help you with. So again, if you haven’t already done so I suggest subscribing to my newsletter to stay informed. When you sign up you will also get a free E-Book on how to improve your Side Kick Height!
Important recommendations for this Side Kick – High Torso Drill
I recommend starting this drill with a warmup, such as side to side movements to warm up the lateral flexors of your core (which are important both strength and flexibility wise), or by doing basic kicking techniques.
To get the maximum benefit out of this drill you should do it in rounds, or in sets. I personally kick with both legs, but you may kick with one leg. Whatever the case might be, it’s important to take breaks in between. Instead of doing this drill one time for 5, 10, 20 repetitions to failure, it is better to do this drill in sets to get maximum benefits out of it.
So you would start with doing this drill 2 – 3 repetitions only. An example of 1 repetition would be:
- Lift the chamber. Hold for a few seconds.
- Slowly extend the chamber into a Side Kick (either hold it for 5 - 10 seconds or place it down on the back of the chair)
- Place your leg on a chair and by pulling your body to your leg, flex your torso to the side.
Because you are working a lot of muscles in their short ranges, your hip abductors and lateral flexors of the core, might spasm, especially in the beginning. So, you should take a break. You must release these muscles in between sets. Then after you release the muscles, you repeat this drill for 2 to 3 repetitions. You will get more benefits doing it 2 to 3 repetitions at a time, for multiple rounds, rather than if you try to do it one time to failure. Stay tuned for more drills!
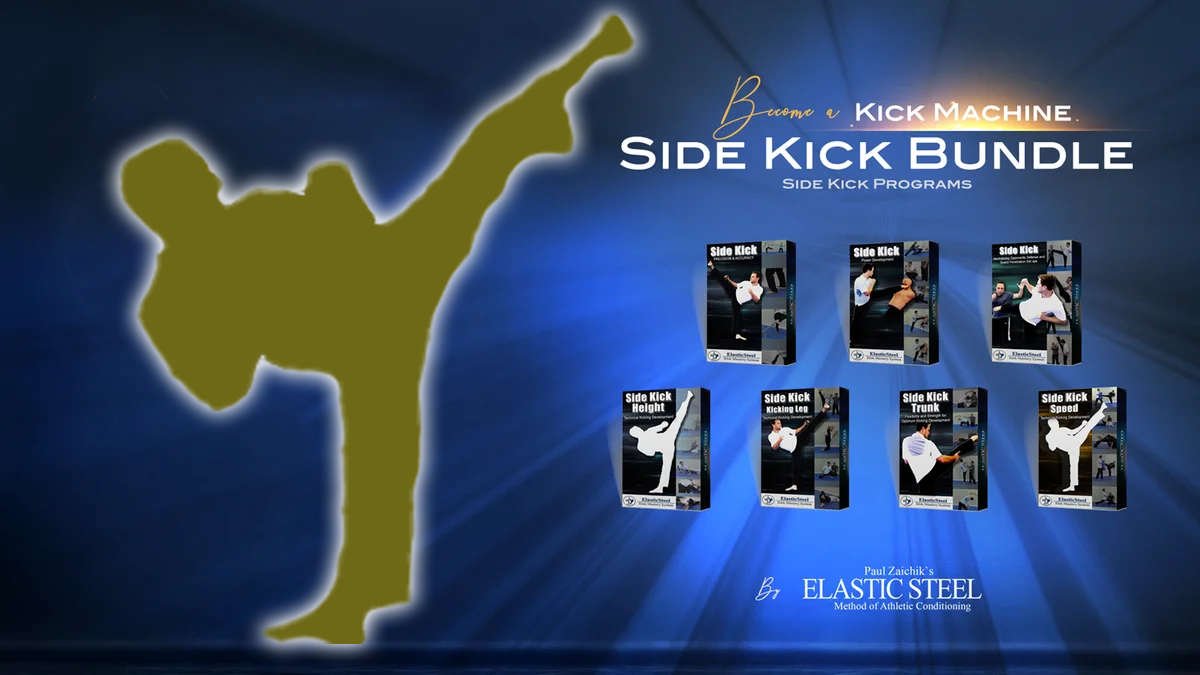
To help you in perfecting your Side Kick we have a full collection dedicated specially to Side Kick training.
To help you in perfecting your Side Kick we have a full collection dedicated specially to Side Kick training.
ELASTICSTEEL MASTER KICKER COLLECTION
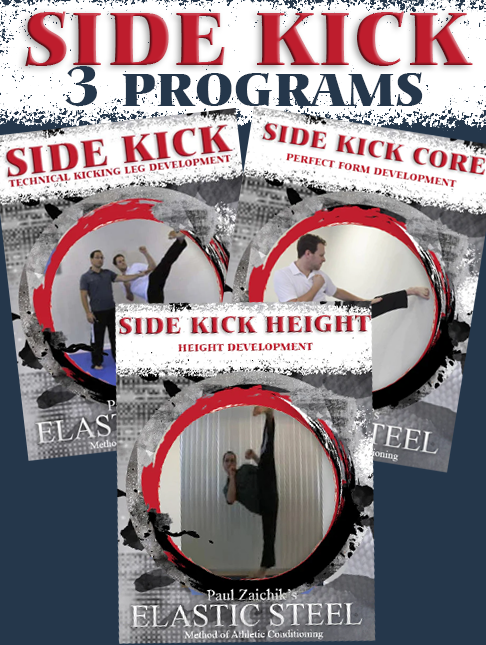
3 Program
Side Kick Combo
Side Kick Combo
This combo includes:
- Technical Kicking Leg Development
- Core Flexibility & Strength Development
- Height Development
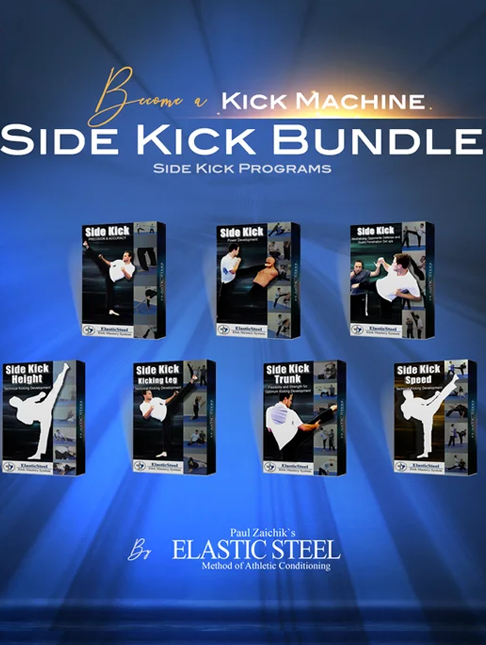
7 Program
Side Kick Combo
Side Kick Combo
This combo includes:
- Technical Kicking Leg Development
- Core Flexibility & Strength Development
- Height Development
- Speed Development
- Precision & Accuracy Development
- Power Development
- Flying Side Kick
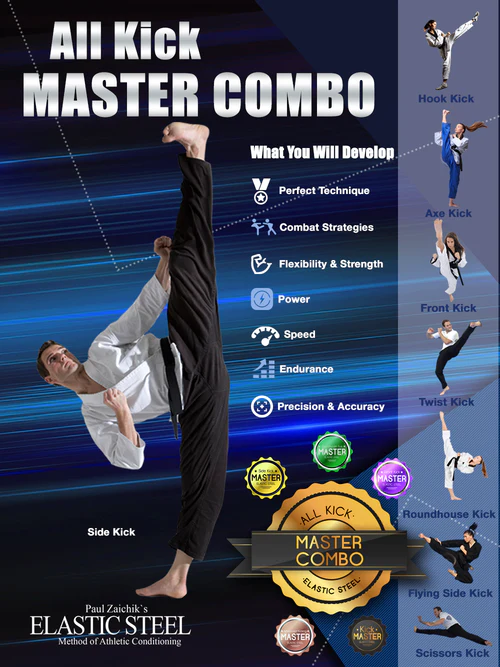
20 Program
All Kick Master Combo
+ 5 Gifts!
All Kick Master Combo
+ 5 Gifts!
This combo includes:
Side Kick:
- Technical Kicking Leg Development
- Core Flexibility & Strength Development
- Height Development
- Speed Development
- Precision & Accuracy Development
- Power Development
- Neutralizing Opponents Defense and Guard Penetration Set Ups
Roundhouse and Hook Kicks:
- Roundhouse Kick: Technical Kicking Leg Development
- Roundhouse Kick: Speed Development
- Roundhouse Kick: Power Development
- Hook Kick: Power Development
Front Kick:
- Front Kick and Front Line Kicks: Technical Kicking Leg Development
- Front Kick: Speed Development
- Push Front Kick: Power Development
- Axe Kick: Power Development
- Ball of the Foot: Point of Impact
Advanced Kicks:
- Scorpion Kick: Perfect form Development
- Flying Side Kick: Technique and Jumping Height Development
- Flying Split Scissors Kick, Two Direction Kick
- Twist Kick Technical Kicking Leg Development
- Twist Kick Follow Along Routine
+ 5 GIFTS!

Comments
Leave a comment